Wednesday, February 28, 2007

Mission Bougainvillas


This is the demo painting I did for the Watercolor I class yesterday afternoon. I chose the photo since it demonstrates how to do mass foliage effects without painting each leaf as well as stucco/masonry effects. The students also used masking fluid for the flowers.

Monday, February 26, 2007

Lace and flower prototype


This is an idea I have had fermenting in my mind for awhile to try someday. I found an inexpensive doily last week and decided to give it a try. I used the doily as a stencil, airbrushing watercolor over it, then painted the iris over the white left by the doily stencil. I have doilies for larger paintings, too, when I develop this further. In the future, I think I would tone the paper first, before airbrushing the stencil of the doily on. I also would pay more attention to the iris anatomy...I somehow added an additional petal in there. I think, also, that this begs for intense color on the flower, but I decided to quit on this one since it is just a sample to see if the idea works. I will try it again, using these thoughts above and see what I think. I am pleased with the concept so far and think it merits further work. I need to get busy with two commissions so will, reluctantly, put this aside for awhile. Kinda cool, huh?

Tuesday, February 20, 2007

Antiquity Pot


Enough of the art studio photos, on to the original intent of this blog....my artwork. This is another pot I used for a demo in my Watercolor I class to show modeling of shapes, using shadow shapes to show form in the draped cloth and using sandpaper to "age" an object.
This afternoon, I will see the students' finished pots, that is always exciting to see how they interpreted each lesson.

Friday, February 16, 2007

SWAP Gallery

I belong to an international online group that, quarterly, exchanges small paintings with other group members, never knowing from whom our paintings will be sent. I only have six to show so far, but have left room to show more in the future as I receive them, going up to the ceiling and over the French doors.

This has been a fun group to belong to and I have enjoyed the paintings I have received from everyone. So far, I have received a painting from the Philipines, Canada, Spain and different states here in the USA.

Wednesday, February 14, 2007

Art Studio, finally finished!


Here is the art studio portion of the build project, organized as I think will work best. Once I start actually working in here some of these arrangements may change, but I am quite far away from doing much of that. We have completely disorganized our family room, which will need to be put back together after painting, etc., and then move the computers and office furniture into the studio area that will become the office (the corner and wall from which I shot this photo). Then we need to convert the old office into a guest room. So, no rest for the weary for awhile here, but we are at least making some promising progress! The camera angle makes the right side shelves appear to be unlevel, trust me that is not the case....we leveled them all when installing!

I have an ArtChix sale this weekend, followed by a Sun City Grand Art Faire sale on March 3 so I need to get my act together to get ready for these while trying to put the rest of the house back together. Like I said, we have plenty to keep us both out of trouble for quite awhile.

For my SWAP buddies, the wall over the bookcases on the left (and eventually over the French doors) will become my SWAP gallery when I get all of my paintings framed. Cool, huh? Once we get the office part of the studio put together, I will be able to hang more paintings there...the art studio portion has to be more functional, with wall space taken up with storage and shelves.

I am excited to be this far along with this arduous project, it has been a long time since we felt the least bit organized in our house and we are only part way there. But, this is enough excitement for now and I am proud to have it.

Monday, February 05, 2007

Studio Build - Almost Done!


I wanted to wait until everything was completely done before posting these photos, but I am so happy with the flooring that I decided to go ahead and post now, then will post again when everything is moved in and settled (whenever that will be!). The baseboard will be finished being installed later this week and then we will paint it, then starts the arduous task of moving everything back in.

The photos were shot from two opposite corners, showing the L-shaped room. Any walls that look like they are sloping, please chalk that up to my difficult camera angles to try to get as much into one photo as possible. Trust me, they are all straight! More photos to follow as this gets completed. But, we are getting close!

Thursday, February 01, 2007

Studio exterior completed

Here is the exterior view of the completed studio build. I will post photos of the interior once the flooring and baseboard trim has been installed. We have finished the painting on the interior as well as all blinds and fans have been installed. Hooray!

Tuesday, January 30, 2007

Still here

Our work continues on the addition completion. We have spent three days painting, installing blinds, fans and everything that is needed to get ready for the flooring installation, which should be completed next week. So, no photos to share until we have it all done. Right now, it is definitely not ready for prime time, for sure.

Tuesday, January 23, 2007

First attempt at Sydney final


This is all I can do to this portrait of Sydney. The paper has been scrubbed out so much that it is starting to bleed around those edges when I try to paint. So, while this still doesn't resemble Sydney's eyes and mouth, it was a good practice session and fun to do. When the studio is back together I will concentrate on doing this one again from the beginning. I always learn quite a bit, even when a painting goes onto my pile of tears stack of bad ones.

Monday, January 22, 2007

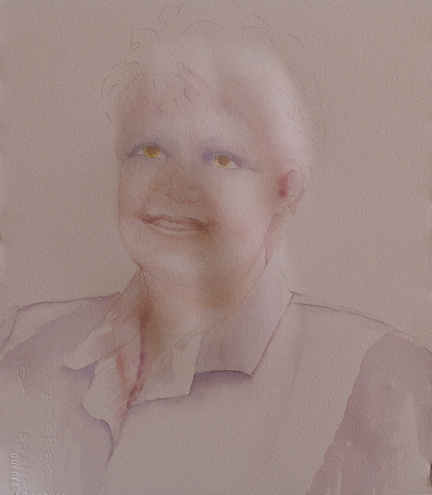
Poor Sydney is sitting on my painting table, eyes and lips whited out from the gentle scrubbing with my Mr. Clean Magic Eraser. She looks absolutely freaky right now. When I have the time to devote to it, I will reintroduce her eyes and mouth into the painting. If that doesn't work, I will start afresh. I am determined to do this painting well.

Tomorrow, we have been promised the last of the contractor's crews coming in to finish the last of our studio build project. Then it is on to the walk-through inspection and Tom and I have to take over and paint everything and get ready for the flooring people to install the laminate flooring that I paid 50% of this morning! Hopefully, by the end of next week we might be finished with this! Hooray if that is so!

Sunday, January 21, 2007

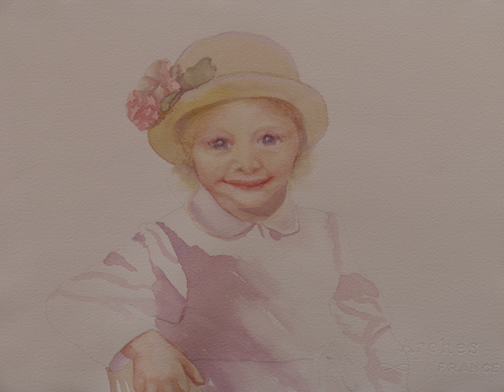
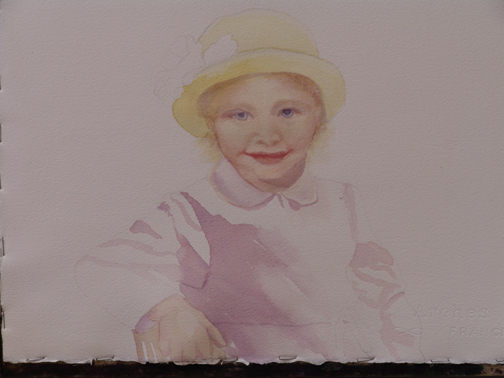
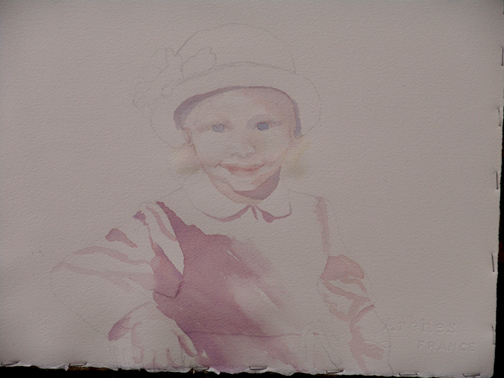
Sydney - WIP Two


If I am to remain honest in my attempt to show my process for Sydney's portrait, I must include this second phase, one in which I have completely screwed up her eyes and somewhat her mouth. I will probably lift out (with my trusty Mr. Clean Magic Eraser) both eyes and start over. I have made her smile too old for her, also. There is always the option of starting over with this to look forward to, but I hope to have the corrections made now make enough of a difference so I don't have to do that. No one said portraits would be easy!

Sydney - WIP One


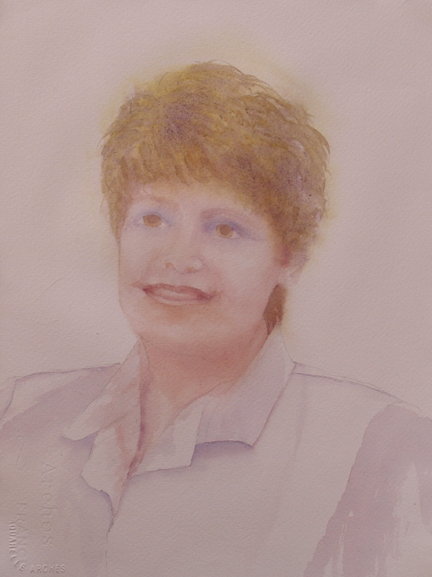
I have begun Sydney's portrait this morning. This is just the first stage, mainly of the initial modeling shadows (or as Taylor Bush calls them, structure shadows). I will strengthen these next where needed and continue on to the subtle shadows. One must pay particular attention to the reference photo at this stage since likenesses are created with the structure shadows and if you don't get them right at this point it is doubtful that corrections later will create a likeness. So, I need to spend more time on these structure shadows.


I was so saddened to hear of the passing of a dear Watercolor Workshop artist, Man Mohan. He graced the message board with submissions of wonderfully simple, yet so soulfully complete paintings and words. He rarely painted with anything other than a 1-inch hake brush, and painted so much with such economy of strokes and really was able to open up his soul to the viewer of his art. This painting I chose for this memorial to Mohan is a perfect example of his painting style. Simple, yet so complete in his vision. I see the light he painted into this painting so competently, and it takes us immediately into what his mood and thoughts must have been while painting it.

Mohan always had a kind and encouraging word for everyone in our group and was very willing to share any of his techniques, photos of his supplies, or any thoughts he had concerning watercolor or life in general. Our planet will share the loss of this gentle soul, we will miss him greatly.

Saturday, January 20, 2007

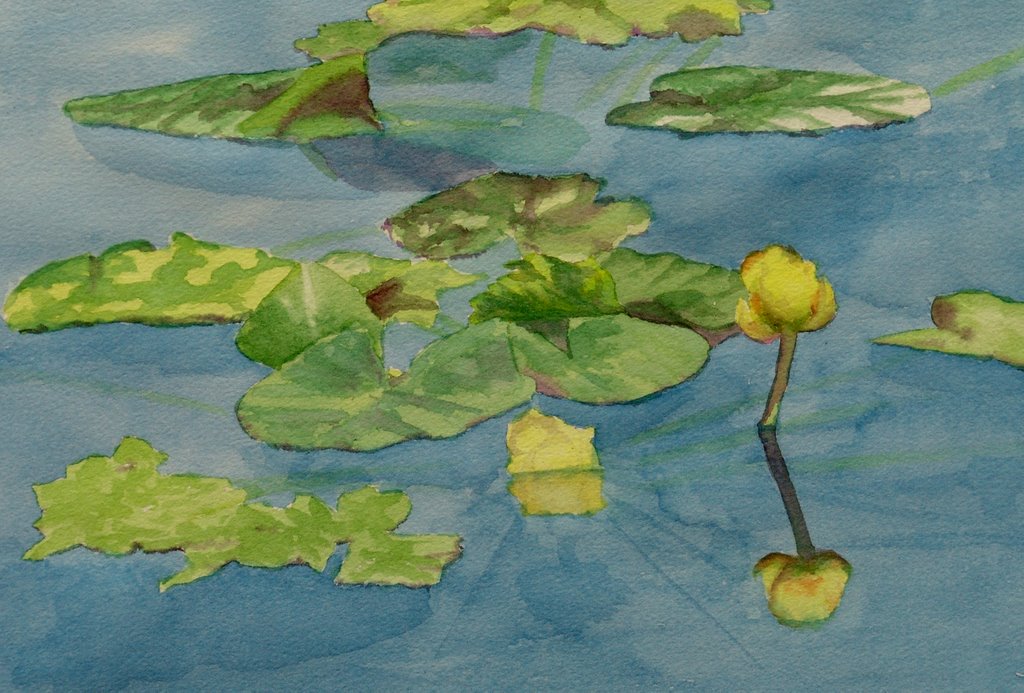
Oregon Water Lilies

One of the January projects for the Watercolor Workshop is waterlilies. I have had this reference photo since this past summer when we took a lot of scenic drives through Oregon and found this mountain lake which had lots of these yellow lilies. I have hesitated to paint water lilies since they seem so difficult for me to paint, they always look like they are going uphill instead of laying flat on the water and the water, itself, is problematic. At least with this one most of the pads seem to be flat on the water, but the water is still problematic. I figure if I keep doing this, in another ten years or so I might get the hang of it. Some things are just more of a struggle than others!

Friday, January 19, 2007

Studio Build - Tape and Texture


The crew who did the taping and texturing of the walls finished this morning. The photo on the top shows a view of the studio where my worktable will be on that end. The bottom photo shows the end of the room where the computer wall will continue from the old art room. This is the end of the room where the wall has been removed and the studio flows into what will be the computer room but I can't show that well in the photo angles.

Now, all that needs to be done is to have the French doors installed and painted, the electrical to have a final hook-up and the air conditioning ducts to be hooked up. All of that is roughed in but not the final hook-up. Then, it is up to us to get the room painted and have the laminate flooring installed. We are going to try to select the flooring this afternoon so that will be ready when we are ready to have it installed. Then, the tough part of putting all of these rooms back together that have been demolished since early November.

Tuesday, January 16, 2007

Self Portrait - Final


I finished the self-portrait project this morning. I am pleased with most of this in that it went better than any of my other portraits have gone and has more life to it. I have made notes of what I want to work on for the next one so it is a continuing learning process, as with anything else with artwork! I have to say I love Taylor Bush's process and am enjoying using her portrait DVD series. It is very helpful and informative.

We have had three crews of workers here today, only one of which did not make a lot of noise. Hopefully that all means big results. The exterior is painted and they are working on the taping and texturing again this afternoon so I will take some more photos later to show any progress.

Monday, January 15, 2007

Self Portrait - Step Two

I am getting farther away from my own appearance so will step away from this for awhile and rework the mouth and the left eye (our left) to see if I can reconnect with myself.

I don't want to hurry and it will be better if I wait, I think.

Stucco - Painted

Before the wind started blowing today the painter was able to get the exterior walls finished. The trim will be done tomorrow if the wind settles down.

The sheet rock tapers were here and said they would return tomorrow. All of the seams are now taped, awaiting texturing.

Self Portrait - Step One


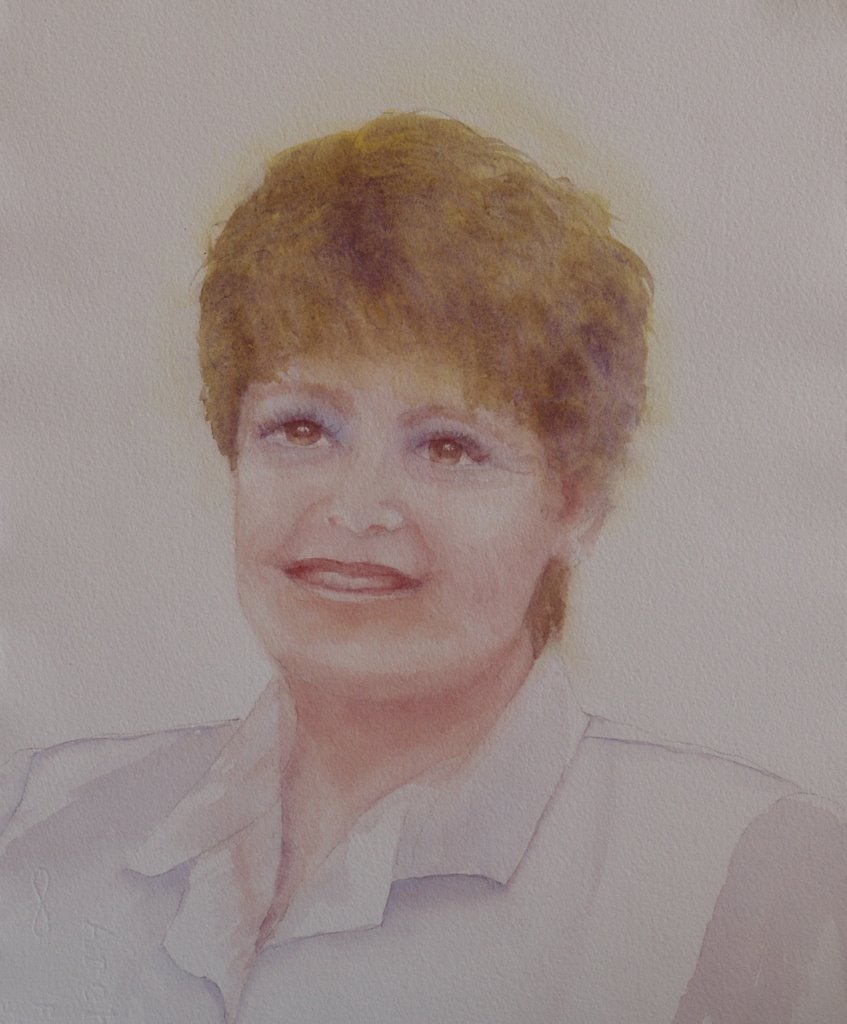
Our current project for the online Watercolor Workshop is to do a self-portrait. Since I just received my supplies to start the Taylor Bush method of portraiture, I decided to pick on myself first and try a self-portrait. I took a bravery pill this morning and started this. I took another pill before posting this photo of stage one. At least, if I mess it up from this point on, I have proof I indeed tried to do it. I am enjoying it for the most part so far, but I haven't gotten to the details (like wrinkles, crinkles, droops, sags, etc.) so the depressing part will come later, I suppose. I haven't found in Taylor's DVD's or written text what pigment should be used for hazel eyes, I am sure it is there, I am just not finding it. So, I took it upon myself to do a yellow underpainting and will see how to proceed from there. I may end up looking jaundiced, but we will see. I like having her pigment mixing guides handy for the different stages. Like I said, so far so good.

The painter is here today, painting the new room exterior and will plan on painting the French doors for the inside entry into the studio. Photos of this to follow tonight.

Thursday, January 11, 2007

Stucco finished

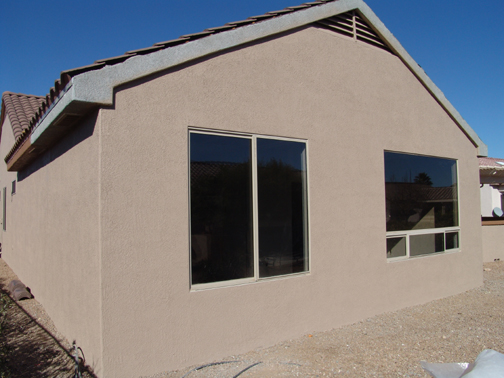
Tom took this photo to show the texture of the new stucco that was finished today. The crew did a wonderful job of matching the stucco texture on the old part of the house so it should be a seamless blend on the exterior walls once painted. Tomorrow brings the tape and texture guys for the drywall.

I am still under the weather; went to the doctor this morning, who confirmed my suspicions that I have a sinus infection. So, no traipsing around for awhile, including the ArtChix show this weekend. Sad, but true. I know I will be missing a good one, but just cannot do it this time so that is that. Hopefully, I will soon feel like beginning the self portrait project for the Watercolor Workshop since I now have all the paints and supplies needed to follow Taylor Bush's DVD instructions. I just need the energy to get up and do it. Too much coughing, too little sleep!